Thank you for stopping by!

We have everything here

Tuesday, February 5, 2013

Handmade Valentines

Valentine's Day last year was kind of hectic.  The weekend before, we spent 3 days in ICU with Caridad.  She developed pneumonia so terrible.  It was a scary week or so, including the days that led up to her hospital stay. I had no idea that the symptoms she'd been feeling for almost a week before, were leading up to what she went through.  She fought for every stinking breath for those 3 days she was in the hospital.  Needless to say, she did not get to participate in her class party.  And I didn't get around to finishing this post.  But, when she returned to school she did have a bag full of "love notes" from her classmates waiting for her.  And she did get to pass out her creations as well.     

Below was our process for Valentine's last year. 

I wanted to do something different for Valentine's Day celebrations at school.  I can remember being a little girl and I loved making boxes to collect all those "love notes" from my classmates. 

With my son participating in his first ever Valentine's Day Party and with my daughter's suggestions and preferences, these were the "love notes" that they passed out. 

My Materials:
1}  Felt
2}  Yarn
3}  Pen, Scissors and cross stitch needle.
4}  From Scrapbooking Supplies Acid-Free Paper I used a couple of the Printed Sheets from the Valentine Collection.   

Sissy chose 2 patterns for the boys and 2 for the girls. 

I made a heart pattern out of regular paper and traced the hearts onto the back side of the sheets of felt.  The 2 sheets of black felt we handled differently.  Mommy just cut heart shapes without the outline to work with. 

Then we cut all the hearts out. 

Then Mommy and Sis sewed 2 hearts together so that the hearts were colorful and the patterns covered both sides. 


And we attached a little piece of Valentine's Day paper to write who the "love note" was from.


There were really fun to make.  And Sis enjoyed helping...Mommy enjoyed the help!

Do you do something crafty for Valentine's Day treats for your children to pass out to their friends?  I'd love to hear your ideas in the comments section. 
 
Mommy Sauri~


Thursday, December 6, 2012

Shepherd Costume ~ Sauri Style

SO... You remember Caridad's 2011 ~Halloween Costume~ right??  Yes, it was originally made for the Nativity Play at church on Christmas Eve 2009. 

She and Reynaldo decided that they wanted to participate in the Nativity Play last year.  We originally thought that Ernest would make a great lamb for Rey to "shepherd" but when it was time for play practice, Ern was having nothing to do with it. 

Men size T-Shirt and different types of rope


His name was crossed off the sign up sheet!  Poor guy he's still drinking a bottle for goodness sake. 

Babies Sauri with Papi.  Excuse my shadow...


Aunti Vi sewed Caridad's Angel outfit in 2009 but I didn't feel comfortable asking her to whip something up for Reynaldo this time around.  Granted, I did not yet own a sewing machine, I figured that I would rely on my fellow bloggers in blogland to help me with ideas. 

I used ~her~ method and I think it worked out perfect. 

Listening to instructions.  Caridad looks a bit confused wouldn't you say?


After all, I do not imagine that Shepherds back in Jesus' day were draped in gold and fine linen.  Wouldn't you agree that they probably wore simple cloth that was not immaculate and not prim and proper? 


Don't get me wrong, I will sew something up for Rey the next time something like this comes along but I vow to make it simple and fitting for a Shepherd, not a King.     

My beautiful Shepherd and Angel Sauri

Tuesday, May 1, 2012

May 2012 ~Scrapbooking~

Kindergarten Graduation Day, May 20th 2011.
I absolutely love this picture of Sissy. 
My Materials:
From SEI's Sunny Day Collection

1} Umbrella Glitter Paper (front)
2}  trellis Pink Foil Paper (front and back)
3} Puddle Foil Paper (back)
4} Rain Puddle Solid Cardstock (front)
5}  Golden Sky Solid Cardstock (back)
6} Garden Variety Perforated Paper (for journal spot, month title and flower)
7}  From Zig
Photo Signature Purple Pen
The blue color of her cap and gown really brought out her eyes.  I have another picture from this day that someday I will scrap to show you.  But until then, my May calendar page will have to do.


I need to work on the photo matting idea.  A year later I am looking at these and thinking there are so many things I could have done differently.


Other 2012 layouts.
~March~
~April~

Mommy Sauri~


Friday, April 20, 2012

Ernest's 2nd Birthday Party

As promised, I am posting some photos from Ernest's BOOK PARTY.  We celebrated the completion of his 2nd year here on this beautiful Earth completely Sauri Style. 


You remember the ~Happy Birthday Garland~ I made for the front windows?  I made a couple others that you notice in these pictures.


I made the topiaries too...at 0 hour the night and morning of the party!  So frustrating but totally worth the stress.  They were a huge hit. 

All the scrumptious desserts, MADE THEM!  I told you all in ~this post~ that it's been super crazy for us lately.  This may have had a little to do with the craziness. 


Click ~this link~ for the step-by-step instructions for this yummy ~Sweet Rice~.  I had to hide a cup for Papi otherwise I may have gotten in trouble by Grandma Mela.


For some reason our baby boy has become camera shy and even adverse to other people touching him???  So believe me when I tell you this is one of the few pictures that were caught of him smiling. 


We had a lot of fun eating pizza and Grandma Donna's yummy macaroni salad.  I will definitely share that gem of a step-by-step someday.  And a party at Casa de Sauri is not complete unless Papi makes bar-b-q.  We tried to stick to just pizza but people demanded it! 

And all the preparation leading up to this day might all make sense now.  We've been busy little bees at Casa de Sauri.  Take a look for yourself.

Even~this~ activity was BOOK THEMED!
~table centerpiece~
I want to give a special thank you to Teliece Garcia for all of the fantastic photos.  She is super talented at photography and I hear she's even more talented at baking.

THANK YOU TELIECE! 

And thank you ~ECA~ for hooking me up!
Mommy Sauri~

Tuesday, April 17, 2012

Book Party Thank You's

I feel terrible that I've neglected my lovely space here in the blogosphere these last couple of weeks. 


We had a really fun birthday party for the BABIEST of Babies Sauri a couple of weeks ago. 
Then T-Ball started and then we celebrated Easter and then we all caught some bug or another so I'm behind I know. 


Today I'm sharing my hand stamped and home made thank you cards for the guests at Ernest's Book Birthday Party.

My Materials:
1} Book Pages
From The Paper Studio
2} Cream Cardstock
From Stampabilities
3} acid-free pigment ink pad in black & gold
4} double sided tape (I'm sorry I threw away the original box but I believe it is Scotch foam double sided tape)
From Zig
5} Photo Signature Black Pen
6} Scissors

I used the same "spreadsheet" idea I used for the ~Party Invitations~ but this time around I made a folded card. 


I inked the edge of the front of the card with gold ink.


I folded a book page around the actual card, simmilar to my method for the ~Party Invitations~, to act as an envelope and I mailed them out.  I'm sure the folks at the post office don't appreciate my choice of envelope to mail my correspondence but I do pay extra so they can just get over it.

I'm happy with the outcome from the entire party celebration and I'll be back next week with a round up of the festivities.

Please follow my blog.  You won't be disappointed, I promise!

Mommy Sauri~


Sunday, April 8, 2012

Happy Easter


The Sauris are going to THE RANCH to celebrate.  It's sure to be a fun day because lots of little relatives will be up there to pay with. 

What are you doing today?

Mommy Sauri~

Thursday, April 5, 2012

Making Papi Happy

Papi has always been a lover of this dessert.  Whether you call it rice pudding, arroz con leche, or SWEET RICE, it makes my Cubi happy to eat it.

My grandmother shared this recipe with me specifically so that I'd do something to please my husband.  YES, you all can take that however you'd like.  I for one was offended at first but I make it anyway because it does make my Cubi happy. 


OK, just so you know, I'm still offended at grandmas undertones to her comment and I probably won't get over it any time soon.
This is time consuming but the finished dessert is so yummy.

Sweet Rice
Makes 12 servings
6 cups milk
1 cinnamon stick
3/4 cup long grain white rice
3/4 cup Sugar
1/4 teaspoon Salt
1 teaspoon Cinnamon
1 cup Heavy whipping cream
3 egg yolks, beaten
2 teaspoons vanilla extract


Step 1}  Rinse the inside of your pan with cold water.  I use a pressure cooker for ease of cleaning once your dessert is finished.

Step 2}  Combine your 6 cups of milk and a cinnamon stick.  Bring to a boil.  You could also use a vanilla bean that you split, in place of the cinnamon stick.  I actually prefer that but didn't have one this go-round.

 
Step 3}  While your milk comes to a boil, combine the next 6 ingredients, after the rice in the list above, into a large bowl. Then set aside. 

I forgot  a picture when I added the vanilla extract, sorry!

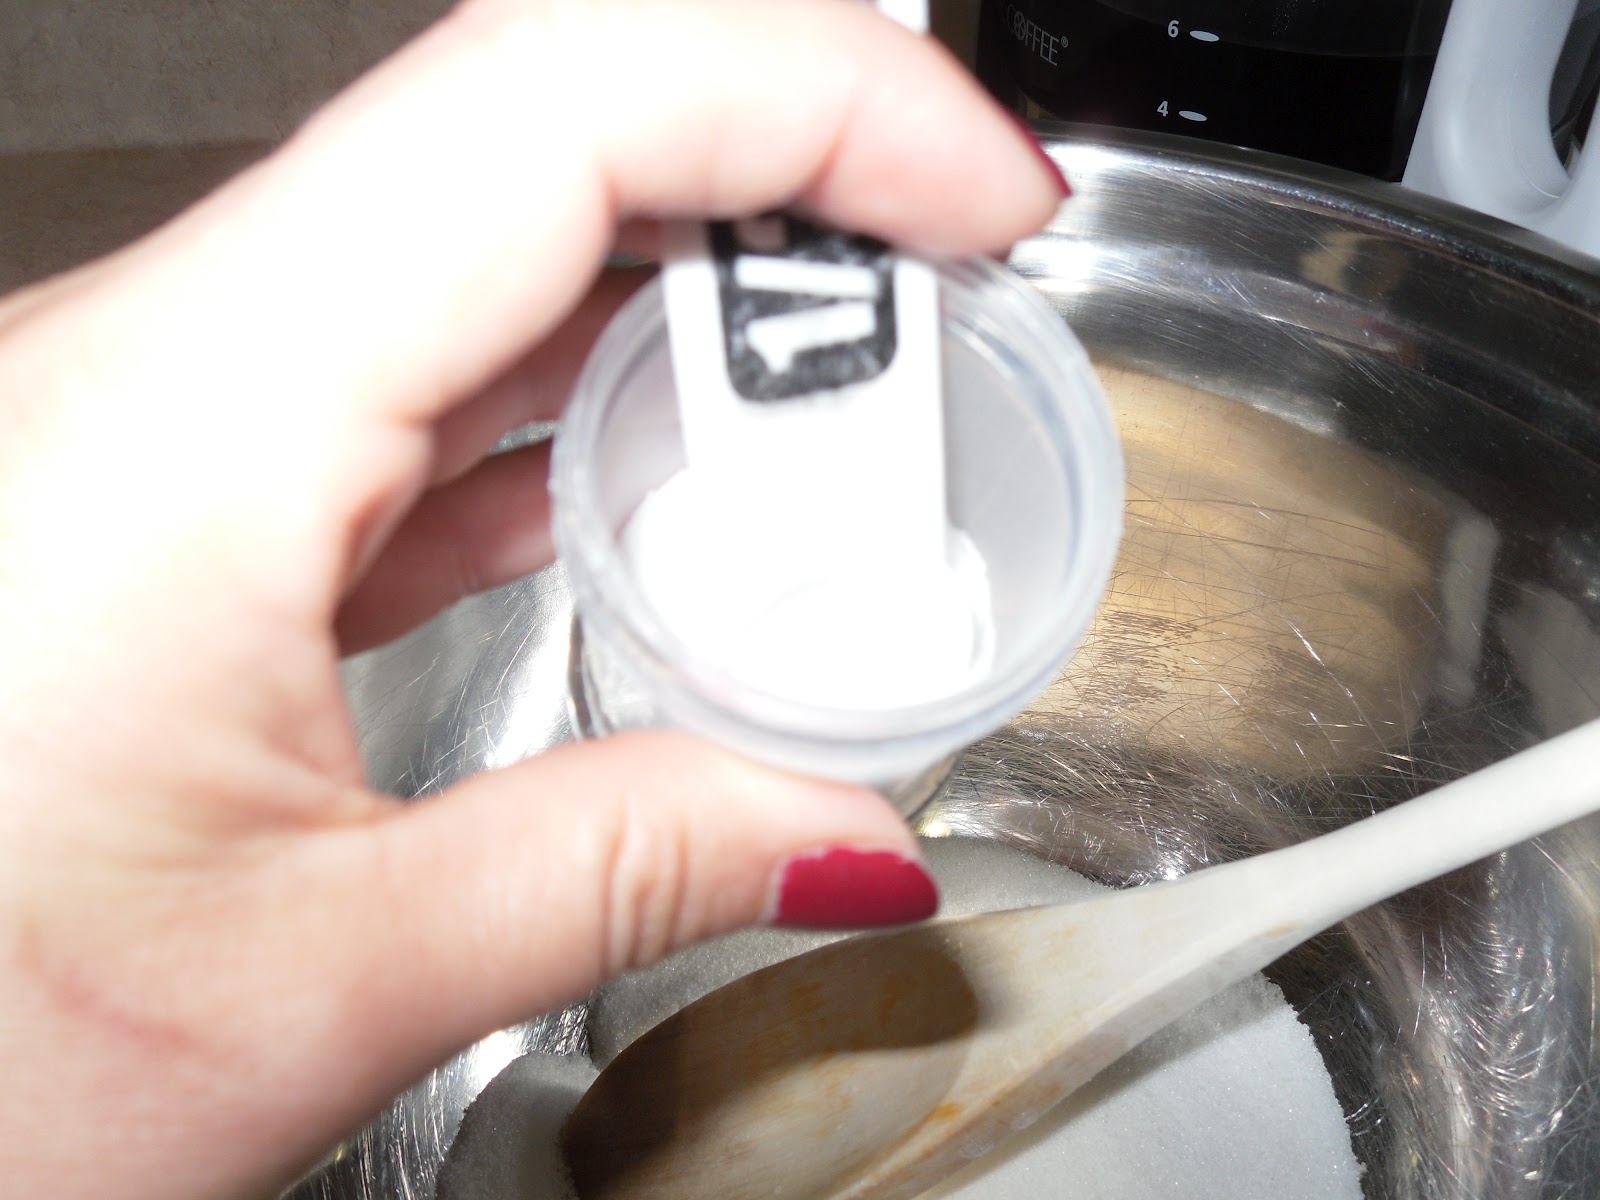
Step 4}  Wash your rice.  I used the dirty measuring cup to wash my rice.  If I were lucky enough to have someone clean up after me, I'd be using a separate holder for each ingredient I use.  But some of us live in a world where we have to clean up after ourselves, so don't hate.


Step 5}  Once your milk and cinnamon stick come to a boil, add your clean rice, reduce heat to medium and return to a boil. 


Step 6}  When your pot begins to boil, simmer for 55 minutes until rice is good and tender.


Step 7}  When your time is up, remove the cinnamon stick.  You have to add the bowl of everything else to the hot pot now.  In order to keep the egg yolk from cooking you need to temper the mixture by adding a spoonful from the hot pot to your bowl, mix and repeat, about 5 times until the bowl is brought to a similar temperature.  Then you can pour the whole bowl into your hot pot.

Sorry I forgot to take a pic of my tempering process but I hope you get the idea.  You can ask questions in the comments if you have them.

Step 8}  Once everything is combined on the stove, return the pot to a boil.  This will cook the egg and make everything nice a creamy incorporated.

Step 9}  I divide the dessert into serving size containers to make it easier for the kids, Papi to have a snack easier than serving their own.


Do you have any variations that you've found successful?  Papi claims he has a much faster way of preparing the sweet treat but I kind of like the slow going of this.  I feel it makes it that much more enjoyable.

Thanks for visiting.  Follow me via Google Reader or Linky Followers.  THAT will make Mommy happy!
Mommy Sauri~